Listing Catalog

In the Listing catalog section, you can manage the Listings, Categories, and Attributes of your online store.
On the Listing catalog section you can manage:
Listings
Categories and
Attributes of your online store
1.Listings
The Listings subsection has a list of all the published ads. The list contains the Name, Category, Price, User ID, Status & Date published of each ad.
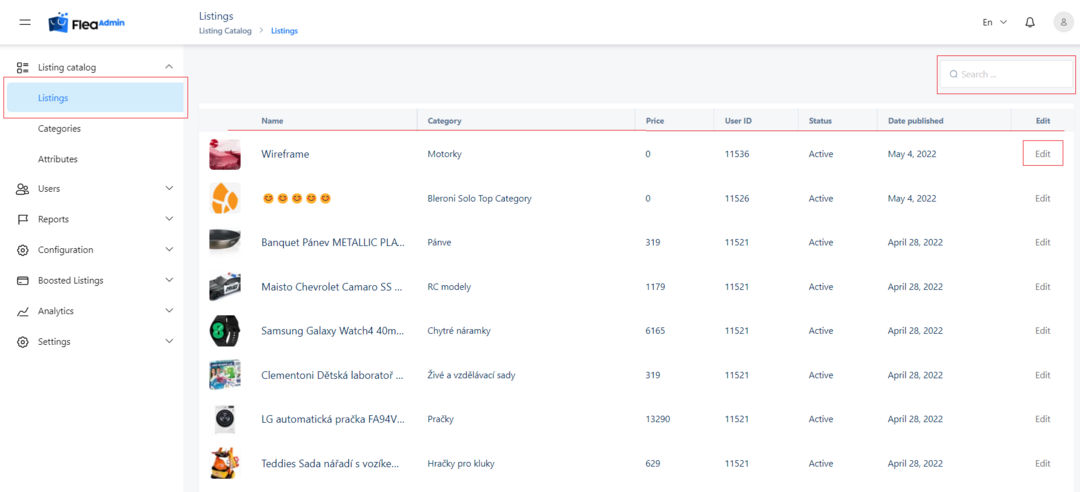
On the top right of the Listings category, there is a Search bar to filter the list based on the Name of the ad.
Edit Ads
To edit or delete any of these ads, you click on the Edit button. On clicking this button a new page will open.
The page contains the Details of product, Photos of product, Categories & Attributes sections.
The Details of the product contains the Title of ad*, Description, Address, Hide phone number, Product price, Give away for free, Enable make an offer option fields as in the picture below. All these fields are provided from the user, but you as an admin can change all of them.
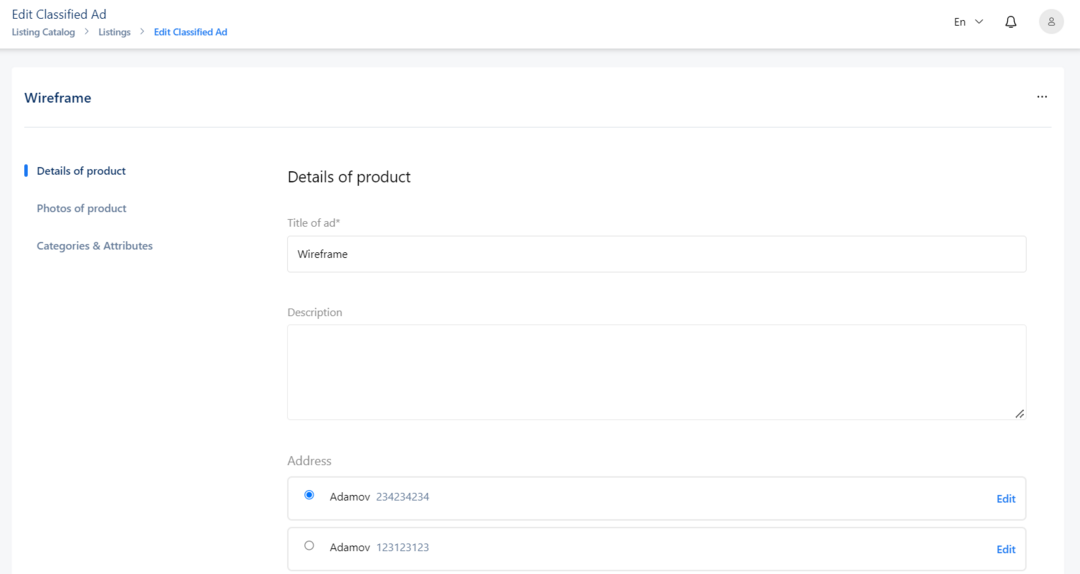
Fig. 2 Details of product
Title of ad is a required field that is displayed on the client side on every ad summary and the ad details page. It has a max of x characters.
Description is an optional field that is displayed on the ad’s detail page only to provide extended information about the ad.
Address is a required field that is assigned by the user’s already existing addresses, which are shown as a list of options to pick from. This field is also editable by the admin. On edit, the city and the phone number can be changed.
Hide phone number is a text box that will hide the phone number that is referred on the address on the ad detail page on client side.
Give away for free is a checkbox that if checked will update the price of the ad to 0, and a Free text will appear on the ad details page and ad summary.
Enable make an offer option is a checkbox that if checked will allow other users to make offers on the ad’s chat.
The Photos of product contains the Gallery field.
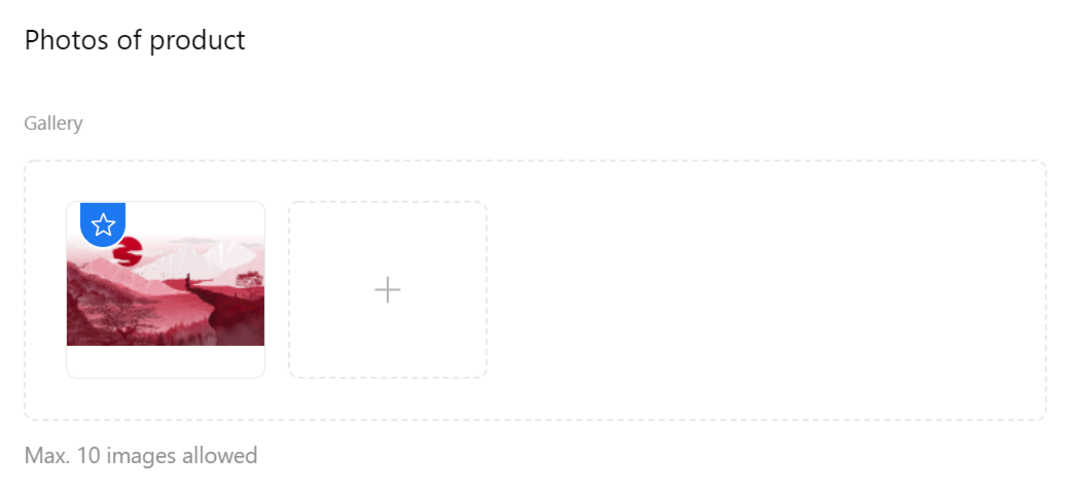
Fig. 3 Photos of Product
Gallery is the field where the admin can remove or upload photos. The max number of photos is a setting that can be changed by the admin.
The Categories & Attributes fields differ based on the category of the product.
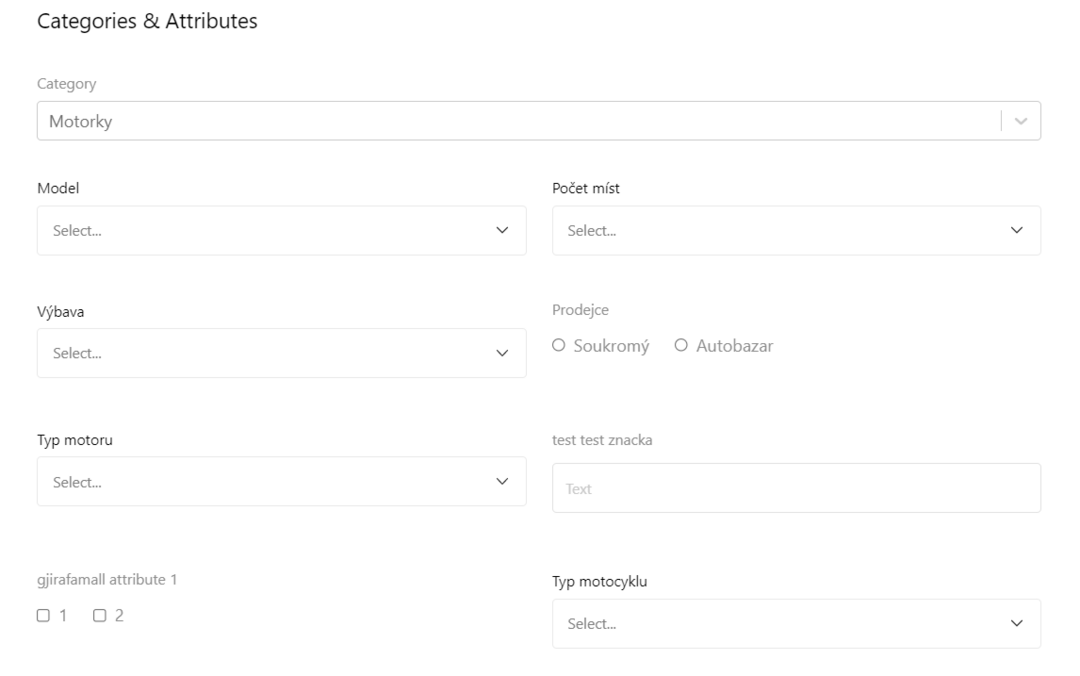
Fig. 4 Categories & Attributes
Category is a dropdown field that lists all the existing categories the ad can be placed in. If a category change is required, it will be selected from the list. Every ad must have a category therefore it is a required field.
Ad Specifications are fields that vary how they are configured. The specifications selected are shown in the ads detail page and determine the ads filters in the client side.
On the bottom right of the Edit page, three buttons are shown.

Fig. 5 Cancel, Save and Save and Continue Edit buttons
By clicking the Cancel button, you discard the changes and return to the previous page.
By clicking the Save button, you save the changes and return to the previous page. An ‘Edit Success’ message (as in the picture below) will be displayed on the top right.
Fig. 6 Edit Success popup
By clicking the Save and Continue Edit button, you save the changes and you can still continue to edit. An ‘Edit Success’ message (as in the picture below) will be displayed on the top right.
Fig. 7 Edit success popup
Delete Ads
To delete an ad, on the top right of the Edit page click the three dots then click the Delete button.
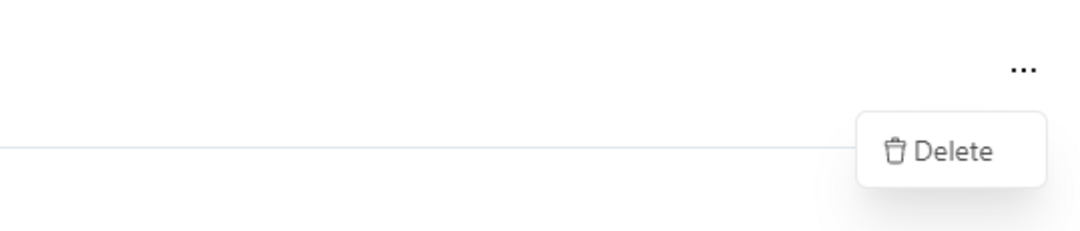
Fig. 8 The button to delete the Ad
By clicking the delete button a new popup asking you 'Are you sure you want to delete this item?' will display as in the picture below.
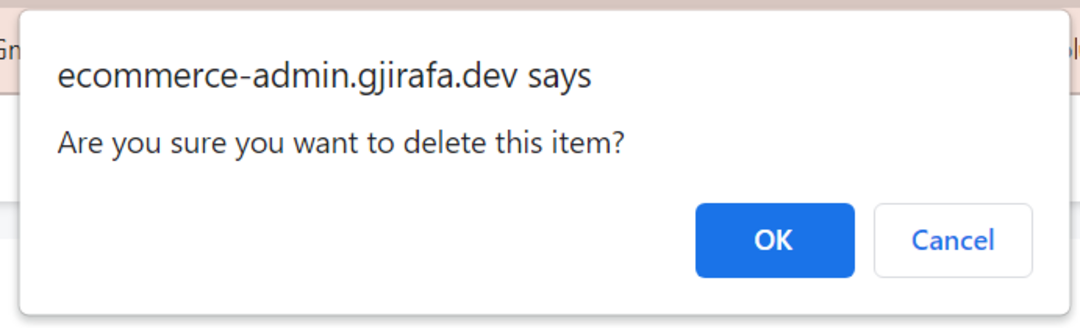
Fig. 9
Click OK to delete.
By clicking OK, you return to the previous page and an ‘Delete Success’ message (as in the picture below) will be displayed on the top right.

Fig. 10 Delete Success popup
Click cancel if you do not want to delete the ad.
2.Categories
The Categories section has a list of all the existing categories. The list contains the Menu Name, Display Order and Published status for each category.
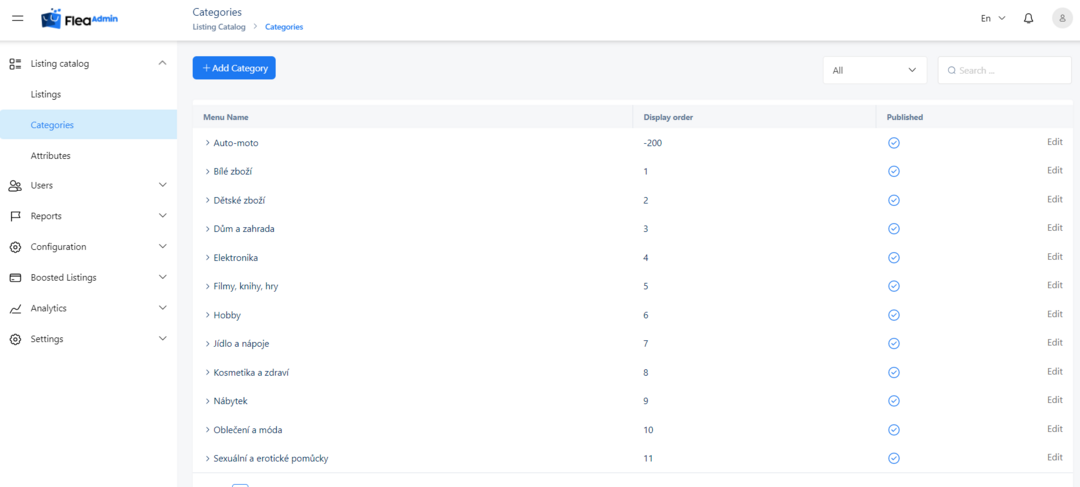
Fig. 11 Categories of the store
Each category can include an unlimited number of child categories. Child categories are often referred to as sub-categories.
When on the Listing catalog → Categories page, administrators can perform the following actions:
You can search and filter the list using the filters and search bar.
The filter list, filters based on the All, Published and Unpublished categories.
The search bar filters based on the Menu name which is the name of the category.
+Add Categories
To add a new category on your store click on the +Add Category button. On clicking this button a new page will open with two current parts, Content and SEO.
Content
The Content page requires filling fields such as the Title, Heading Title, Description, Meta keywords, Meta Title, Meta Description, Parent Category, Published, Show on home page, Include in top menu, Display order, and Upload Picture. All these fields are provided from the user.
Title is a required field that represents the name of the category that will display on the catalog on the client side.
Heading Title is a required field that by default will be auto filled with the title of the category. It is displayed in the category browsing page as a H1 tag.
Description is an optional field that accepts longer descriptive text and is displayed on the category browsing page under the heading title.
Meta keywords are keywords that the browser’s search engine will use.
Meta title is a required field that is auto filled with the title of the category and the web brand, but can be changed. It fills the title tag on the client side and is displayed on the tab as the title of the page.
Meta Description is a required field that is auto filled with a template with the title of the category and the web brand, but can be changed. It fills the description tag on the client side that is used by the browser’s search engine crawler.
Parent category is a dropdown field that lists all the categories with their parent categories. A parent category can be specified to create a hierarchy of categories, but it’s not a required field. If no parent category is specified then the category created will appear in the main part of the catalog.
Published is a checkbox field that if checked will hide the category and the users won’t be able to post any more ads in that category.
Show on home page is a checkbox that if checked will remove the category displaying from the catalog(check again to be sure).
Include in top menu - (may be deprecated)
Display order is a required numeric field that determines the order in which the categories will be displayed on the client side.
Insert Picture is an optional field to insert a picture for the category. This picture will be visible on the homepage if the category is to be displayed.

Fig. 12 Add a new category page
On the bottom right of the page, three buttons are shown.
Fig. 13
By clicking the Cancel button, you discard the changes and return to the previous page.
By clicking the Save button, you save the changes and return to the previous page. An ‘Edit Success’ message (as in the picture below) will be displayed on the top right.
Fig. 14
By clicking the Save and Continue Edit button, you save the changes and you can still continue to edit. An ‘Edit Success’ message (as in the picture below) will be displayed on the top right.
Fig. 15
SEO
SEO fields, needed for the optimization of search on browsers can be customized for each store. By default each store will have the SEO configurations of the main store.
In the SEO tab on Create or Edit of category the main store SEO fields are auto filled by default if a title on the Content tab has been specified.

Fig. 16
To add store specific SEO fields click on the + sign on the Manage SEO for different store section. A popup will open that has the required fields to be provided with data.
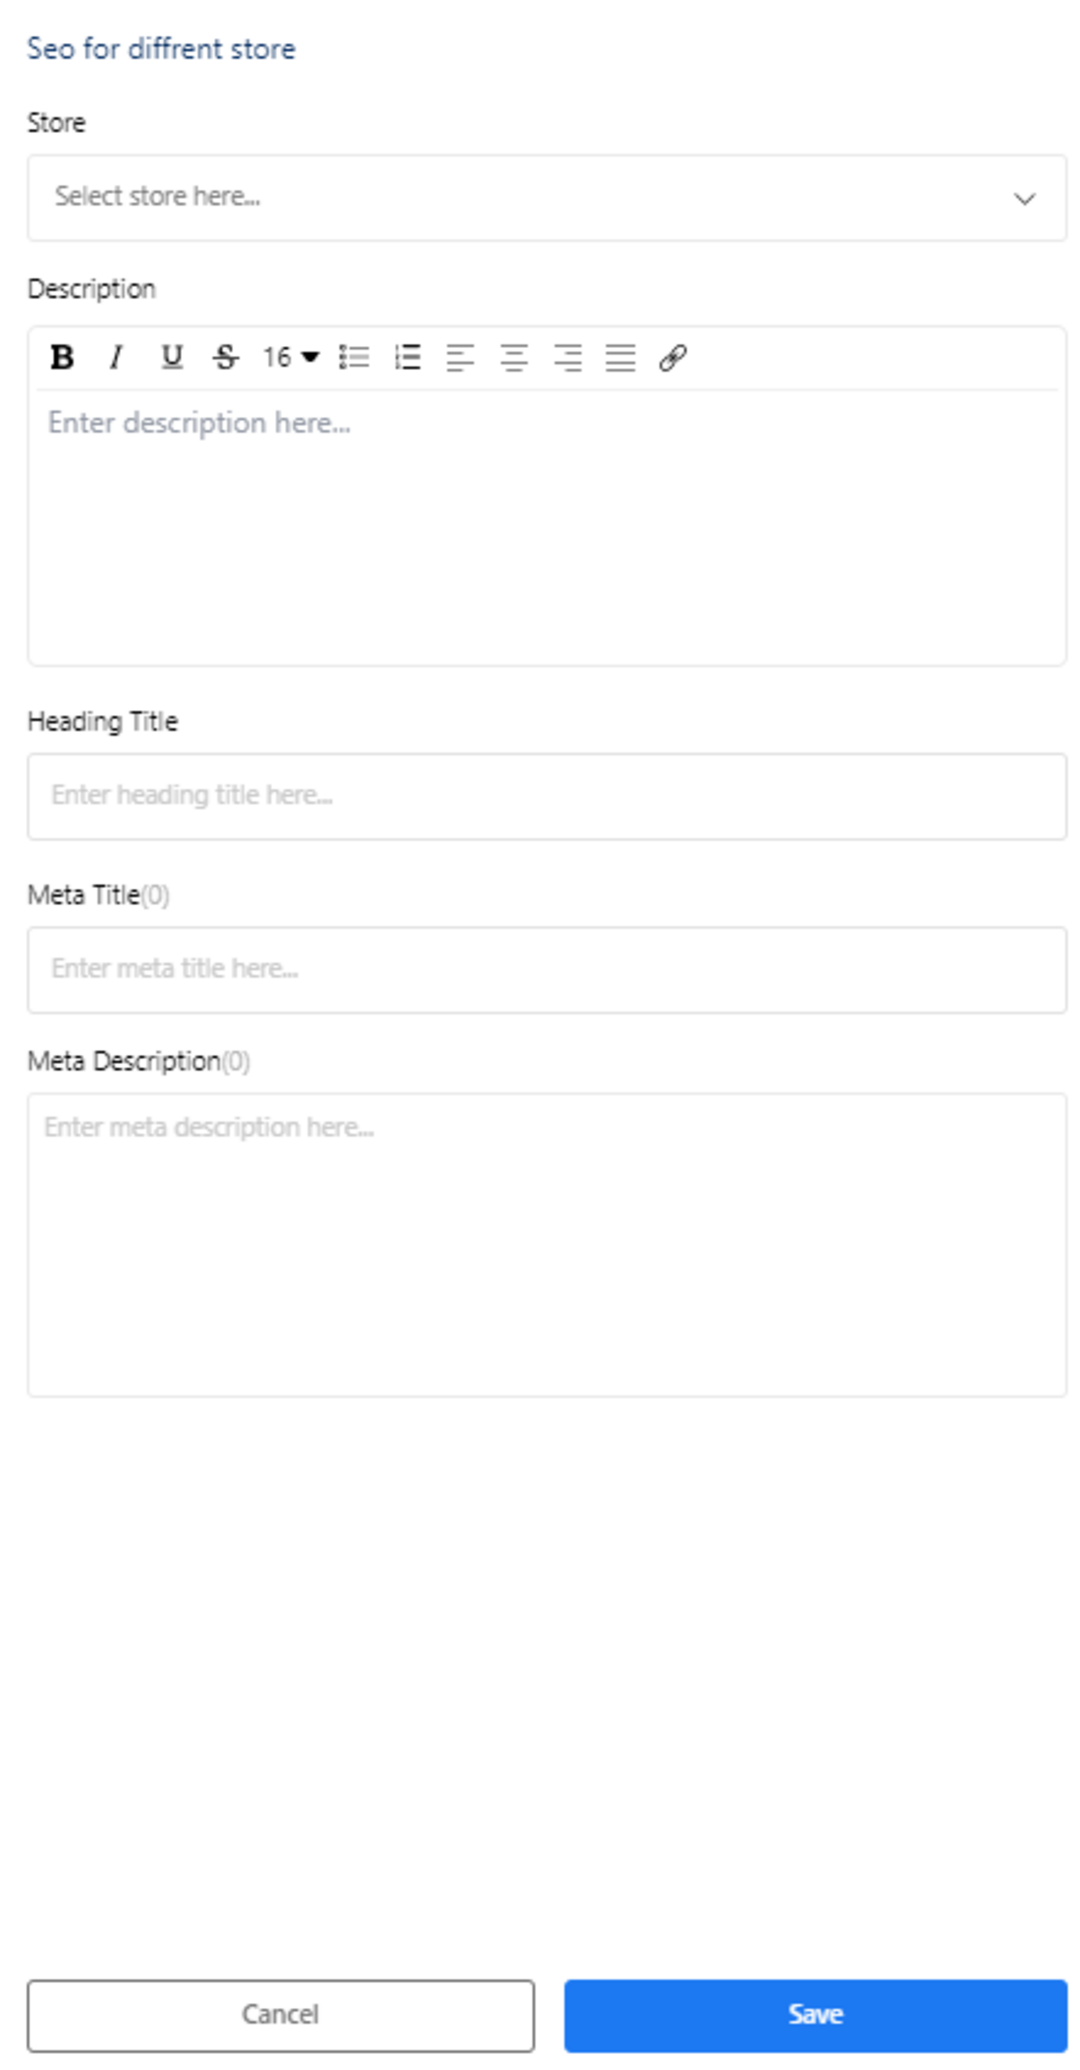
Store is a dropdown field that lists the available stores for which the fields will be configured.
The other fields are the same as the ones explained previously on category creation.
Edit Categories
As an administrator you can edit the data of any existing category or delete the category completely.
To edit or delete any of the existing categories click the Edit option.
To delete the category click on the trash icon. A popup asking you 'Are you sure to delete this item?' will be shown. If you click yes, you delete the category and a new Delete Success message will be shown.
3.Attributes
The Attributes subsection has a list that contains Name, Parent Categories, Display order & Control type of different attributes.
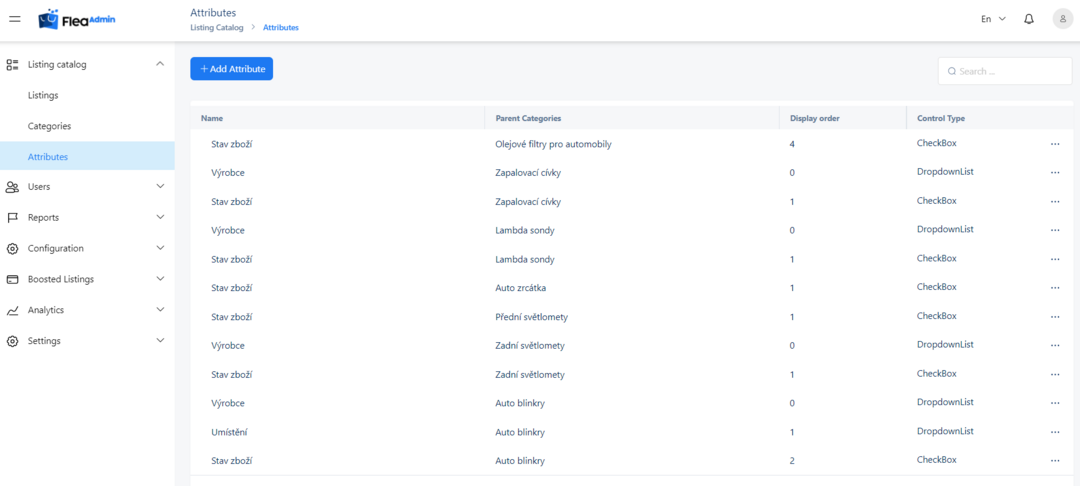
On the top right of the Attributes page, there is a Search bar to filter the list based on the Name of the attribute.
+Add Attribute
On the top left, to add a new attribute, click on the +Add Attribute button and fill the Name, Parent Category, Control Type, Parent Specification Attribute, Display order and Validations fields.
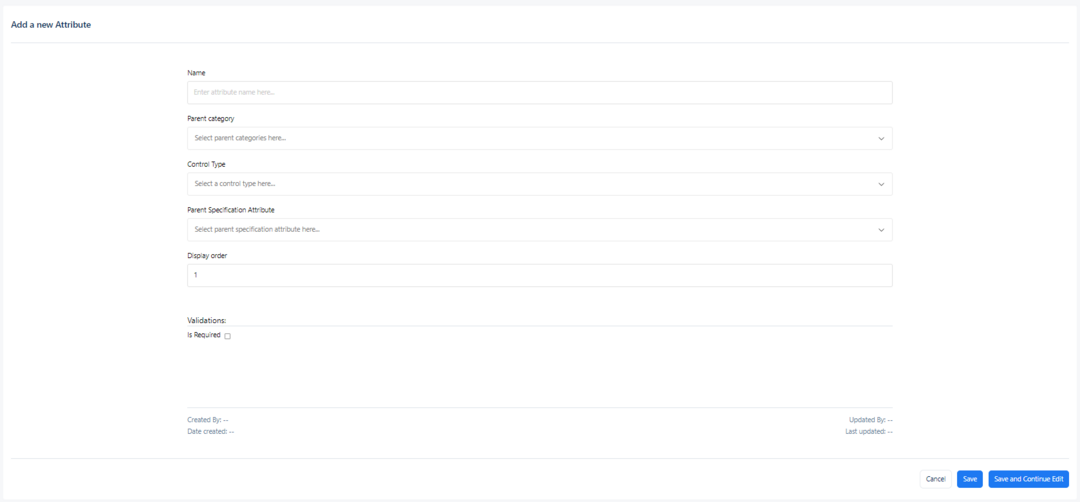
Name ->
Parent Category ->
Control Type ->
Parent Specification Attribute ->
Display order ->
Validations ->
On the bottom right of the page, three buttons are shown.
By clicking the Cancel button, you discard the changes and return to the previous page.
By clicking the Save button, you save the changes and return to the previous page. An ‘Edit Success’ message (as in the picture below) will be displayed on the top right.
By clicking the Save and Continue Edit button, you save the changes and you can still continue to edit. An ‘Edit Success’ message (as in the picture below) will be displayed on the top right.
EDIT
To delete or edit any of these attributes, click three dots, then click Edit.

By clicking Edit a new page will open.
On the top right, by clicking on the three dots you can delete the attribute.
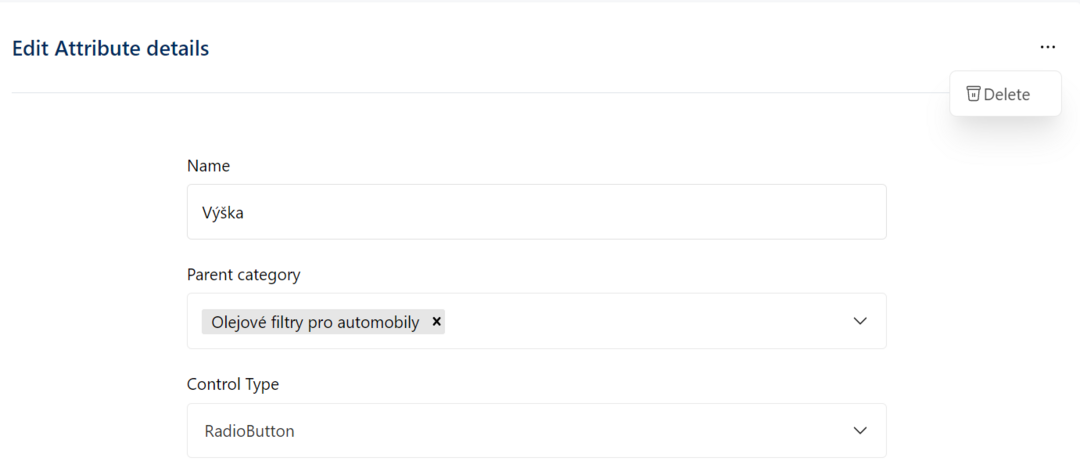
fig. x Delete the attribute
As an administrator you can edit the data of any existing attribute.
On the bottom of the Edit Attribute page is another list that contains the Name, Display Order and Parent Option Name of the attribute.
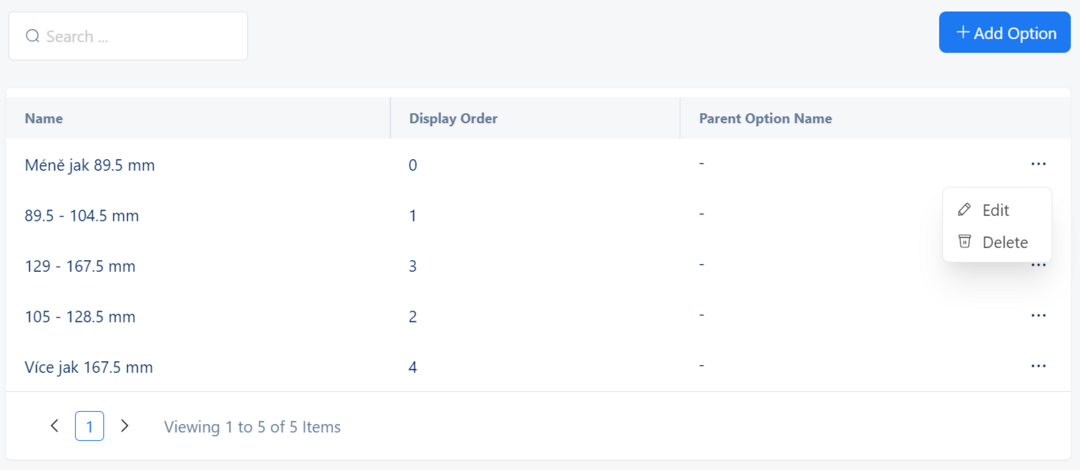
On the top left of the list, there is a Search bar to filter the list based on the NAME of the attribute.
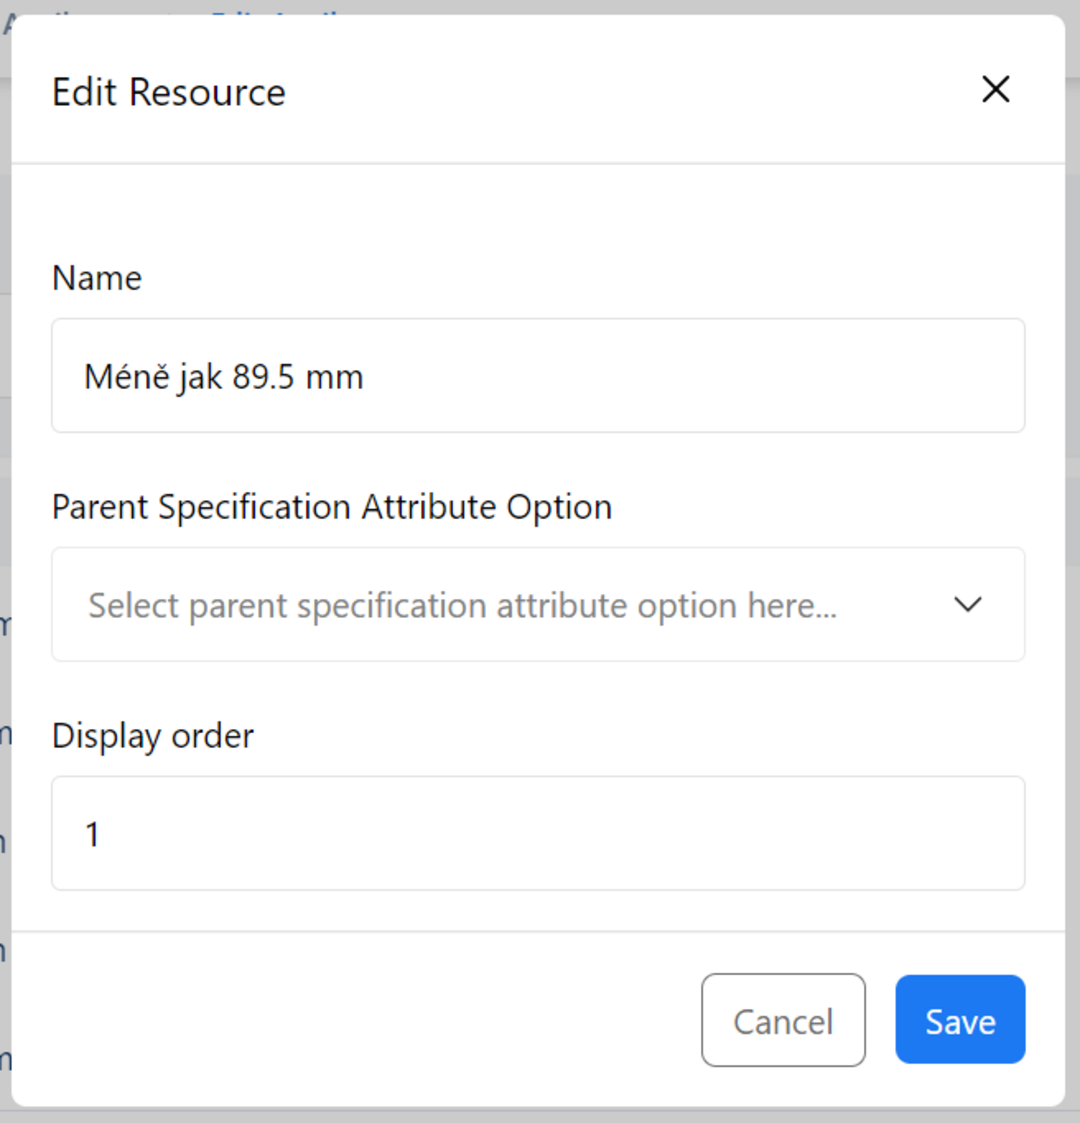
On the top right of the list, you can add a new option by clicking the +Add Option button which will display a popup with the Name, Parent Specification Attribute Option and Display order fields.

Click Save to save the new changes or Cancel to discard them.
Click the three dots to Edit or Delete any of these attributes options.
Clicking the Edit button will display a popup with required fields.
Clicking the Delete button, the alert is shown.
An alert displays asking you are you sure to delete the item.